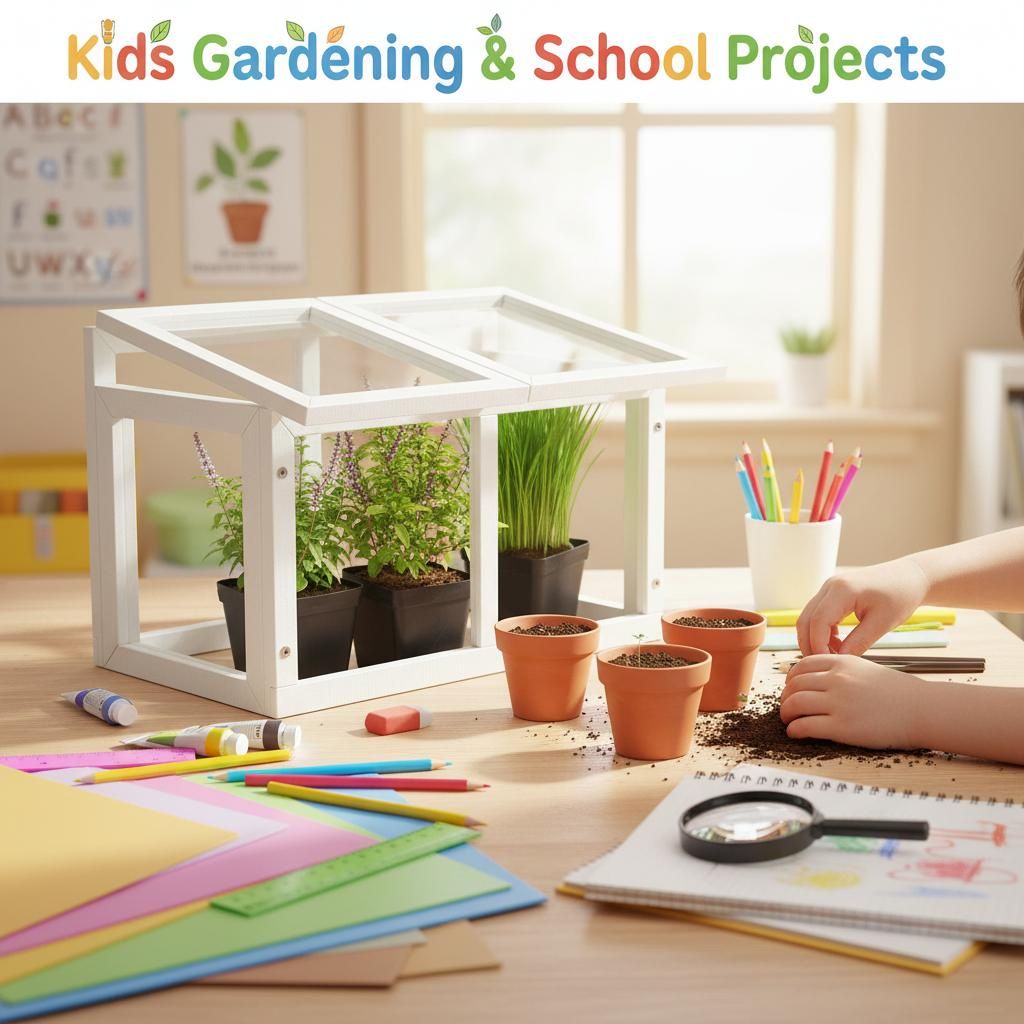
Tabletop Greenhouse for Indoors — The Complete Guide
Everything you need to know about mini indoor greenhouses: what to grow, where to place them, and how to get the best results in small spaces. Plus our top Amazon pick for a compact tabletop greenhouse that works.
Quick Answer: A tabletop greenhouse for indoors is a compact, enclosed or semi-enclosed planter that creates a warm, humid microclimate for herbs, seedlings, and small plants. Best placed near a window, they're ideal for year-round indoor gardening in apartments and small spaces.
What Is a Tabletop Greenhouse?
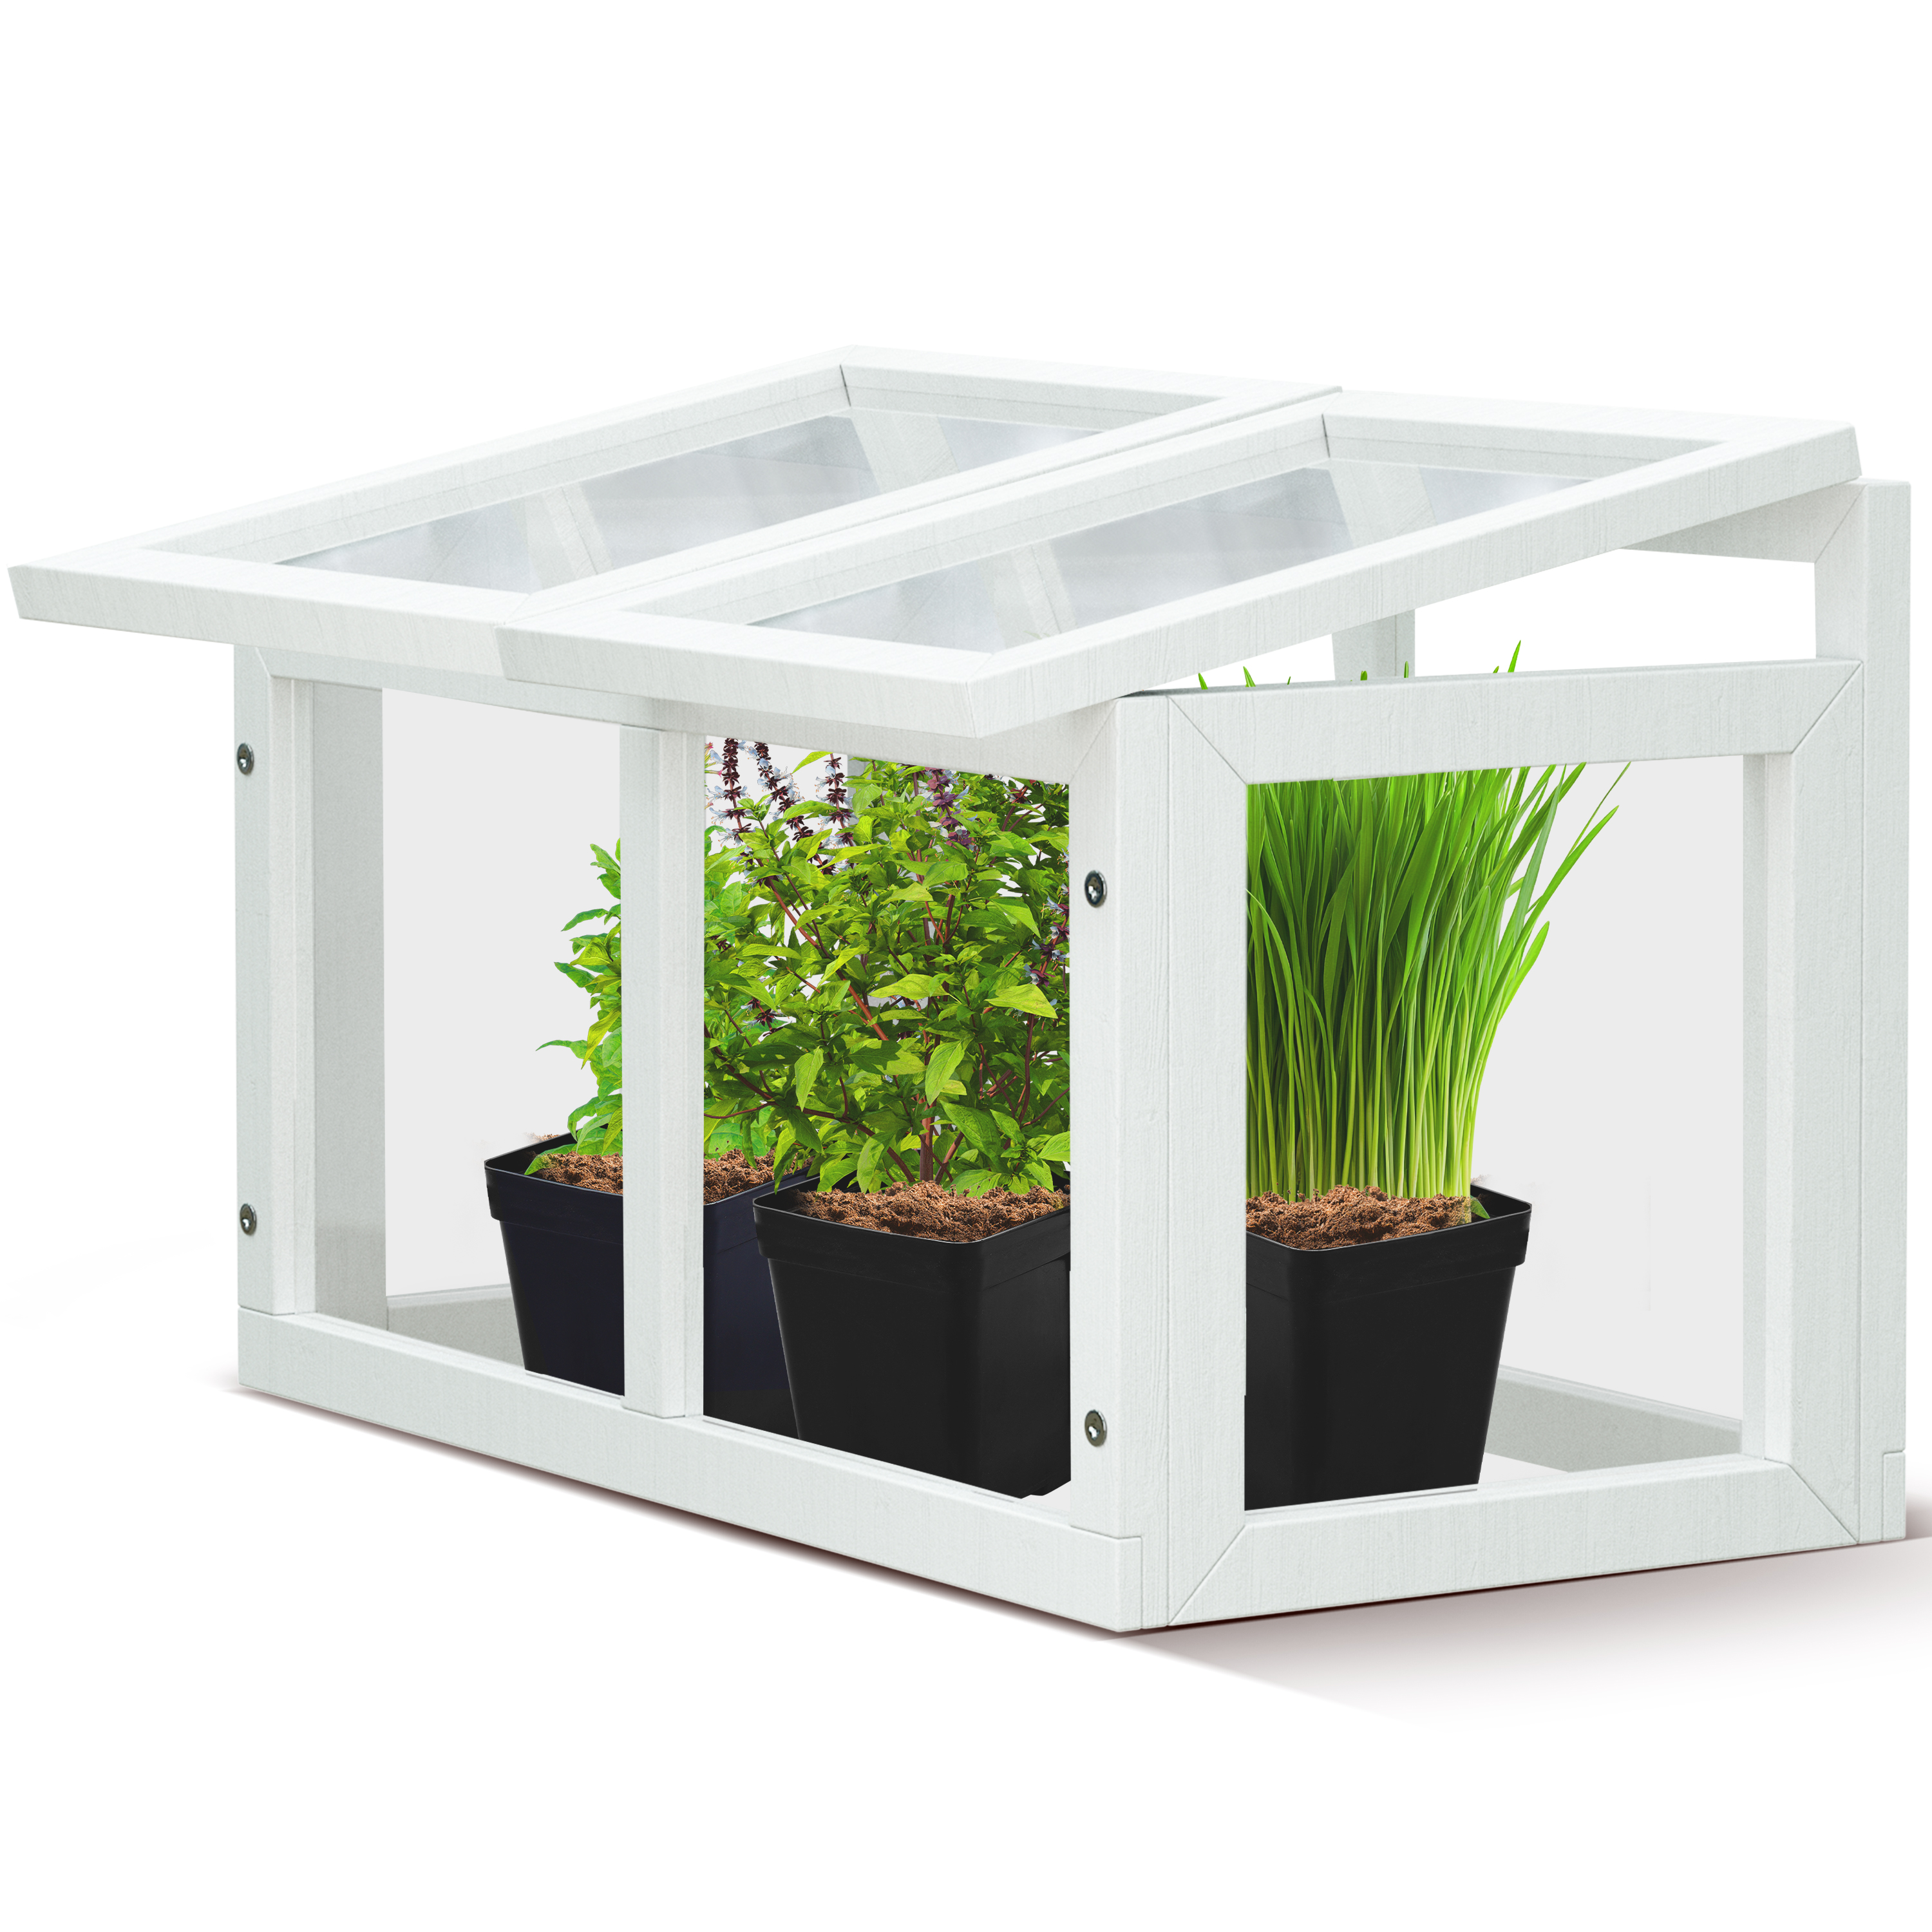
A tabletop greenhouse is a miniaturized growing enclosure designed to sit on a countertop, desk, or shelf. Unlike outdoor greenhouse structures, these compact units are built for interior spaces — trapping heat and humidity while still letting in natural light through clear walls or a transparent cover.
They're perfect for herb gardens, seed starting kits, and keeping tropical or humidity-loving plants healthy during dry winter months. The design works by creating a stable microenvironment that protects delicate seedlings and young plants from temperature fluctuations and low humidity common in heated homes.
Whether you're growing culinary herbs on a kitchen windowsill or starting vegetable seeds weeks before the outdoor growing season, a tabletop greenhouse accelerates growth and reduces the effort needed to maintain optimal conditions.
A mini tabletop greenhouse is versatile enough to support a wide range of plants, from fast-growing microgreens to slow-growing succulents. The key is understanding which plants benefit most from the humidity and warmth these units provide.
Culinary Herbs
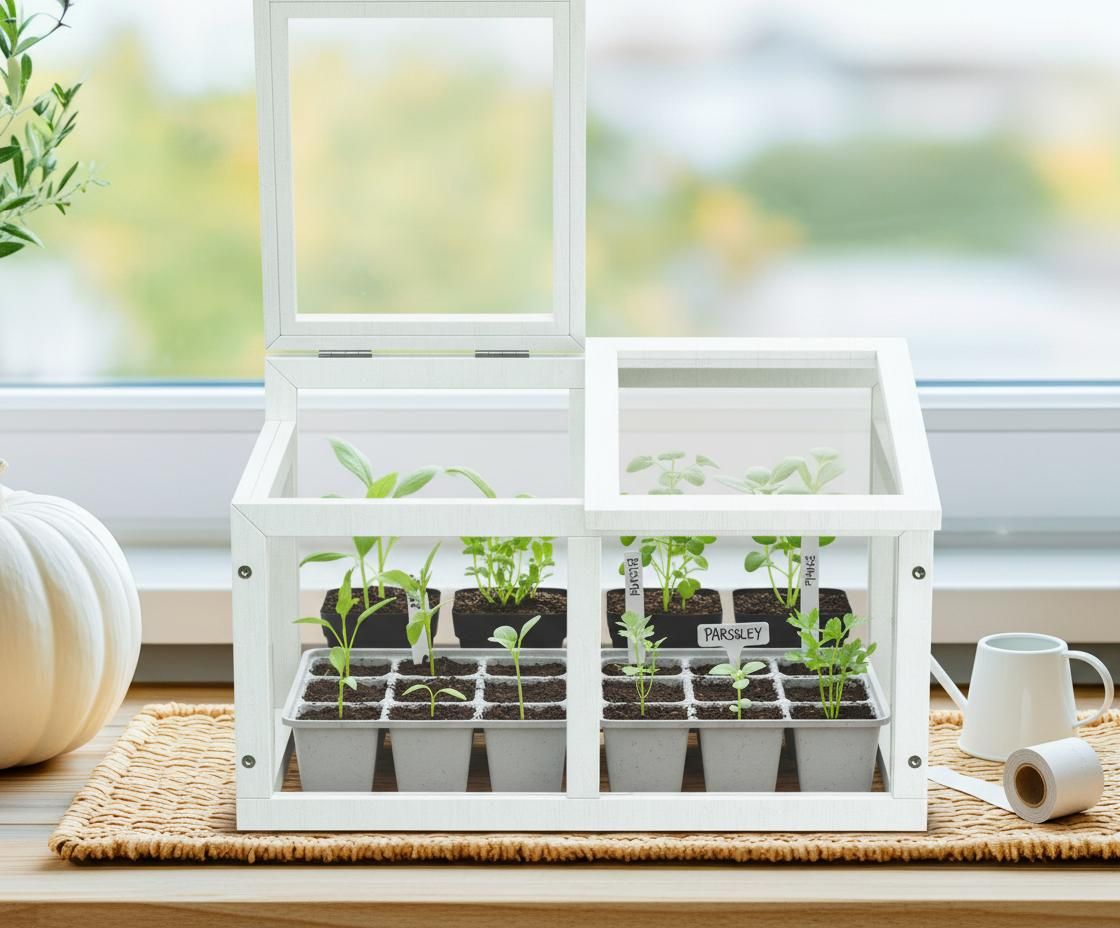
Basil, mint, parsley, chives, dill, and cilantro thrive in the controlled humidity of a mini indoor greenhouse. These herbs benefit from the moisture-rich environment and germinate quickly, typically producing harvestable leaves within 3–4 weeks of planting seeds. Basil is especially responsive to the warm microclimate, developing fuller foliage faster than in open pots.
Microgreens
Microgreens are one of the best uses for a tabletop greenhouse. These nutrient-dense seedlings mature in just 7–14 days and can be harvested at the cotyledon stage, making them ideal for apartments with limited space. Broccoli, radish, mustard, and sunflower microgreens all perform well and provide excellent flavor and nutrition.
Seedlings for Transplanting
Start vegetable and flower seeds indoors 6–8 weeks before your last frost date using a tabletop greenhouse. The enclosed environment protects young seedlings from drafts and temperature swings, resulting in stronger, stockier plants ready to transplant outdoors when weather permits. Cherry tomatoes, peppers, lettuce, and marigolds all benefit from this approach.
Humidity-Loving Tropicals
Ferns, pothos, peperomia, and other humidity-loving houseplants stay healthy and vibrant through dry winter indoor air when grown in a tabletop greenhouse. These plants would normally struggle in the low humidity of heated homes, but the enclosed greenhouse environment mimics their native tropical conditions.
Small Succulents and Cactus
Even succulents, which prefer drier conditions, can be started or propagated in a tabletop greenhouse. The key is good drainage and careful watering. Use a sandy seed-starting mix and water sparingly — the enclosed environment means plants lose less moisture through evaporation, so they need less frequent watering than open pots.
Where to Place Your Indoor Greenhouse
Location is critical to the success of your tabletop greenhouse. Light, air circulation, and stability all affect how well your plants grow.
South or East-Facing Window (Best Choice)
A south-facing windowsill provides 6–8 hours of bright, indirect light — ideal for most herbs and seedlings. East-facing windows offer gentler morning light and are excellent for plants that might be stressed by intense afternoon sun. Place the greenhouse on a stable shelf or table directly in front of the window for maximum light exposure.
Kitchen Counter Near a Window
Many gardeners place their tabletop greenhouse on a kitchen counter within arm's reach of a window. This convenient location makes it easy to monitor moisture levels, harvest herbs, and enjoy the plants as part of your living space. Ensure the counter is away from direct contact with hot stoves or ovens.
Office Desk with Indirect Light
A desk near a window with bright, indirect light can work well for slow-growing plants or those in early germination stages. Avoid placing a tabletop greenhouse on a desk directly under a ceiling vent or near an air conditioning unit, as the constant air movement can dry out plants and disrupt humidity levels.
Plant Shelf with Grow Lights
For darker rooms or winter growing, a plant shelf equipped with small LED grow lights is an excellent option. Position the grow light 4–6 inches above the top of the greenhouse and set it on a timer for 12–14 hours per day. This setup allows you to grow plants year-round, even in north-facing windows or interior rooms.
Locations to Avoid
Keep your tabletop greenhouse away from heating vents, air conditioning units, and drafty doors — these cause rapid moisture loss and temperature fluctuations. Avoid completely dark rooms without supplemental lighting, as most plants need at least 4–6 hours of light per day to photosynthesize effectively. Never place a greenhouse in direct contact with a heat source like a radiator or wood stove.
Tabletop Greenhouse vs. Open Pot — What's the Difference?
The distinction between growing plants in a tabletop greenhouse and growing them in a regular pot goes beyond aesthetics. These differences directly affect germination rates, humidity levels, and the overall health of your plants.
Tabletop Greenhouse
Traps warmth and humidity for accelerated germination
Reduces watering frequency — moisture is recycled
Protects seedlings from pests and drafts
Creates stable microclimate (consistent 65–75°F)
Great for seed starting and cuttings
Moisture visible on clear walls indicates healthy humidity
Regular Pot
Plants exposed to ambient room humidity (often 30–50%)
Soil dries faster — requires more frequent watering
Less protection from pests and air movement
Fluctuating temperatures based on room conditions
Better for established plants and tropicals
Slower germination, especially for small seeds
When to use a greenhouse: For seed starting, microgreens, cuttings, and humidity-loving plants that struggle indoors. When to use a regular pot: For mature plants, established houseplants, and plants that prefer drier conditions (succulents, cacti after the seedling stage). Many gardeners use both — starting seeds in a greenhouse and transferring them to regular pots once they're established.
Getting Started: First Week With Your Indoor Greenhouse
Setting up your tabletop greenhouse correctly in the first week ensures healthy, vigorous plant growth. Follow these steps:
Step 1: Choose Your Location
Place the greenhouse near a south or east-facing window with 4–6 hours of natural light. If your space lacks natural light, set up a small LED grow light 4–6 inches above the top of the unit and run it for 12–14 hours per day.
Step 2: Fill With Quality Soil
Use a lightweight seed-starting mix or potting soil designed for indoor plants. Moisten the soil slightly before filling the greenhouse trays — this helps seeds make good contact with the growing medium. Avoid heavy garden soil, which compacts and retains too much moisture.
Step 3: Plant Seeds or Transfer Seedlings
Sow seeds at the depth recommended on the seed packet — generally, small seeds are surface-sown, while larger seeds are planted 1/4 to 1/2 inch deep. If transplanting existing seedlings, gently place them in the soil and firm around the base. Water lightly after planting.
Step 4: Water Lightly and Close the Cover
Water the soil until moist but not waterlogged. Close the greenhouse cover or dome to trap humidity. In the germination phase, the soil will retain moisture remarkably well — you may not need to water again for 5–7 days.
Step 5: Monitor Humidity and Condensation
Light fogging on the inside walls of the greenhouse is a healthy sign — it means humidity is being retained. Heavy, persistent droplets pooling on the cover can lead to fungal issues. If condensation becomes excessive, crack the cover open slightly for 30 minutes to allow air circulation, then close it again.
Step 6: Vent After Germination
Once seedlings emerge, gradually increase ventilation by opening the cover a bit more each day over the course of a week. This acclimates plants to lower humidity and helps them develop stronger stems. By the end of the second week, the cover can usually stay fully open.
Tips for Success
Avoid overwatering: Check the soil with your finger before watering. If the top inch is dry, water lightly. If it's still moist, wait another day or two.
Ensure drainage: All trays and containers must have drainage holes to prevent waterlogging.
Maintain consistent temperature: Keep the greenhouse away from cold windows and heat vents. Ideal temperature is 65–75°F.
Watch for leggy growth: If seedlings become tall and thin, they're not getting enough light. Move the grow light closer or increase photoperiod.
Remove diseased plants immediately: If you notice fungal growth or wilting, remove the affected plant to prevent spread.
Culinary Herbs
Basil, mint, parsley, and chives thrive in the controlled humidity of a mini indoor greenhouse. Harvest fresh herbs year-round for cooking.
Seedlings
Start seeds weeks earlier than outdoor planting season. Transplant once weather warms for stronger, healthier plants.
Small Tropicals
Ferns, pothos, and humidity-loving plants stay healthy and vibrant through dry winter indoor air.
Microgreens
Harvest nutrient-dense microgreens in 7–14 days. Perfect for small spaces and fast-growing varieties.
Gallery
Ready to Start Growing?
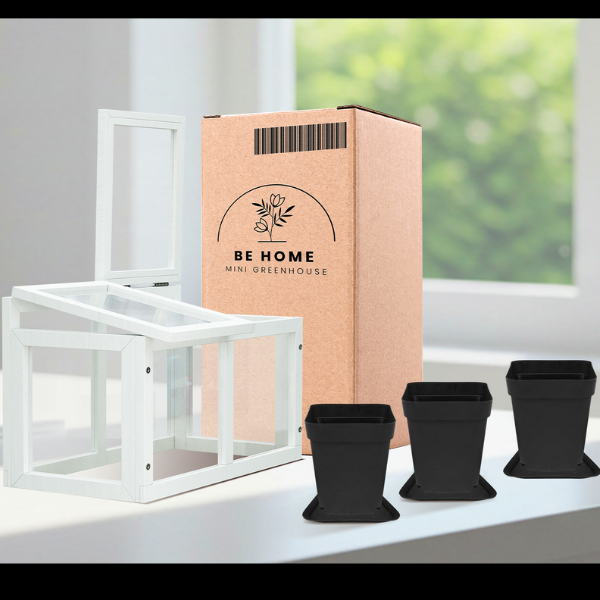
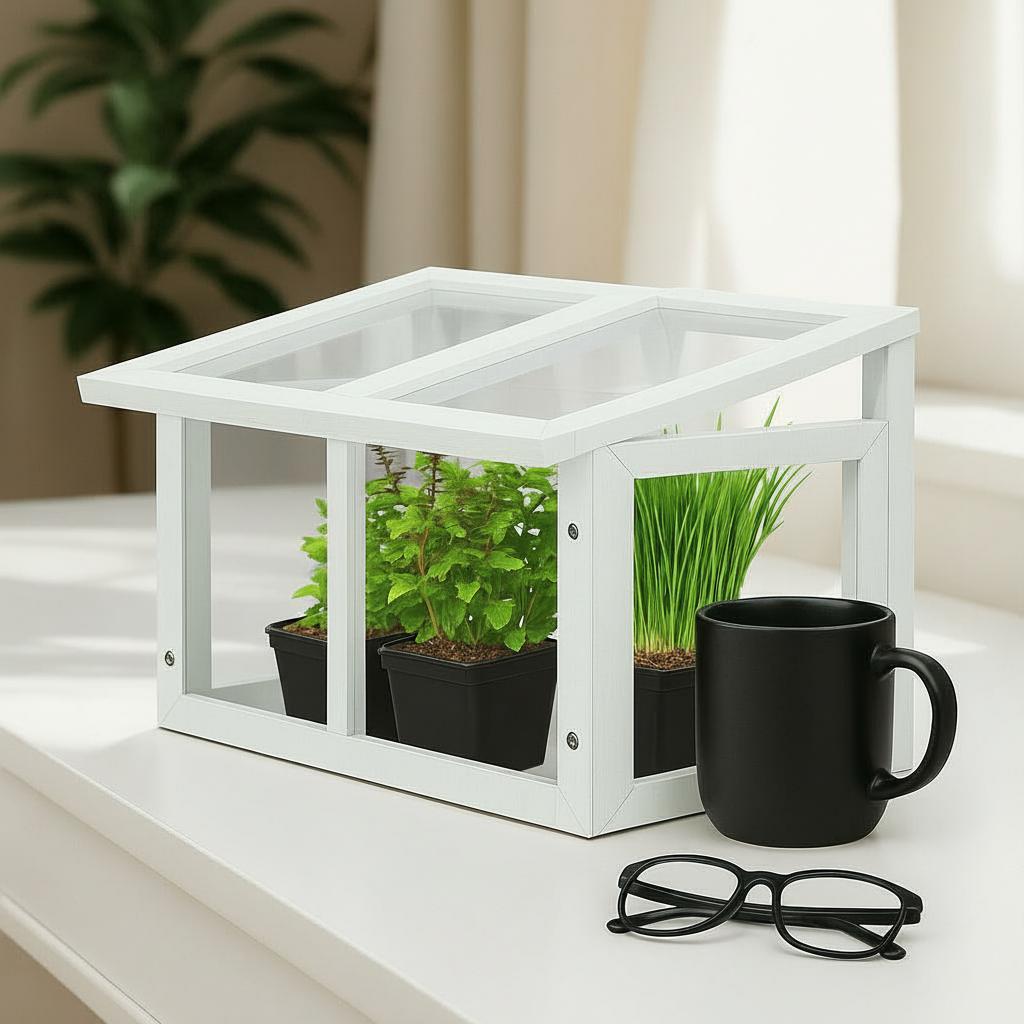
This compact mini tabletop greenhouse is our top pick for apartments and small spaces. Ships via Amazon with fast delivery.
Best suited for small plants, herbs, and starter growth — not intended for large plants or outdoor use.
Frequently Asked Questions
What can you grow in a tabletop greenhouse for indoors?
Tabletop indoor greenhouses are ideal for herbs (basil, mint, parsley, chives), small vegetables (cherry tomatoes, lettuce), seedlings and cuttings, succulents, and microgreens. The compact size and controlled humidity make them especially good for anything that needs a warm, sheltered start. You can typically grow 4–8 different plants depending on the greenhouse size.
Do tabletop greenhouses need a grow light?
Not necessarily. If placed near a south-facing window with 4–6 hours of natural light, many herbs and seedlings will grow well without a grow light. For darker spaces or winter growing, a small LED grow light clipped above the greenhouse helps maintain steady growth. Most plants need 12–14 hours of light per day for optimal photosynthesis.
How is a tabletop greenhouse different from a regular pot?
A tabletop greenhouse creates a microclimate around your plants — trapping warmth and moisture that accelerates germination and early growth. Regular pots expose plants directly to ambient air. The enclosed or semi-enclosed design of a mini indoor greenhouse is especially useful for seed starting and humidity-loving plants. Seeds germinate 7–14 days faster in a greenhouse than in open air.
How do I prevent overwatering in a tabletop greenhouse?
Check soil with a finger before watering — only water when the top inch feels dry. Ensure all trays and containers have drainage holes to prevent water pooling. Fogging on the glass walls is a good sign of healthy humidity, but pooling water on the cover or in trays can lead to fungal growth. Empty excess water from drainage trays once per week, and increase ventilation if condensation becomes heavy.
Is a tabletop greenhouse suitable for a dark apartment?
Yes, absolutely — but you'll need a grow light. Small clip-on LED grow lights are affordable and perfect for tabletop greenhouses. Position the light 4–6 inches above the top of the greenhouse and set it on a timer for 12–14 hours per day. Many herbs and fast-growing plants will thrive under LED lights, even without any natural window light. This approach is ideal for basement growing or interior rooms.